

Installing 1x6 Tongue and Groove Boards as Ceiling Panels
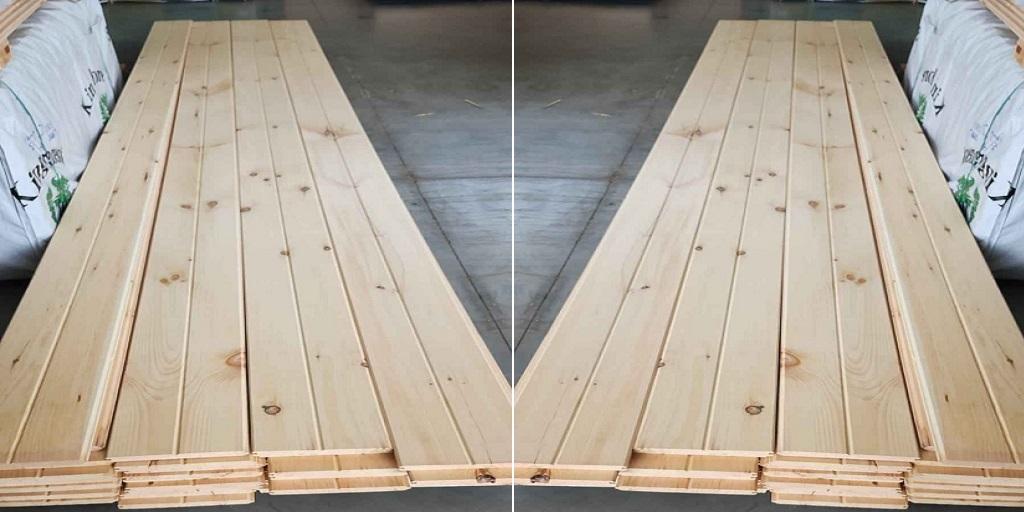
You want your home to look distinctive yet natural, but how could you do it? Installing 1x6 tongue and groove boards on a ceiling is a practical way to add warmth, texture, and natural character to a room. Cedar is especially appealing because of its distinctive grain, pleasant appearance, and natural durability. You need preparation and the right tools. If you want to tackle this as a DIY project, you need to remember that working overhead takes patience and a little planning.
Why Choose Cedar 1x6 Tongue and Groove?
Cedar brings more than good looks to an interior. Its natural color ranges from pale honey tones to richer reddish shades, giving ceilings a finished appearance without relying on elaborate decoration. The wood is also relatively lightweight, which makes it easier to handle overhead than many heavier building materials.
Another advantage is cedar's natural resistance to decay and certain insects. While an indoor ceiling is less exposed to moisture than exterior siding, the wood still benefits from a suitable protective finish. Cedar can be stained to bring out its grain or left with a more natural appearance. For homeowners, that flexibility makes it easy to coordinate with different interior styles. Builders also appreciate the consistent fit of tongue-and-groove boards and the polished surface they create.
Planning the Ceiling Installation
Start by measuring the ceiling's length and width. Multiply those dimensions to calculate the square footage, then account for extra material to cover cutting mistakes, defects, and the final row. A 1x6 board's actual width may be smaller than its nominal measurement, so check the manufacturer's specifications before calculating how many boards you'll need.
Inspect the ceiling framing before installation. Boards should be fastened securely to joists or suitable blocking, not simply attached to unsupported drywall. Locate and mark each joist, using a stud finder and confirming measurements where possible. If the ceiling has uneven framing, address that before covering it. Gather the essentials before you begin: tools, and at least one helper to handle long boards.
Installing the Boards Step by Step
- Prepare the material. Allow the cedar 1x6 tongue and groove boards to adjust to the room's indoor conditions before installation. Follow the supplier's guidance for acclimation and moisture content. If you plan to stain or seal the boards, finishing them before installation can make it easier to coat the edges and exposed surfaces.
- Plan the layout. Decide which direction the boards should run. They are commonly installed perpendicular to ceiling joists so each board can be fastened into the framing. Mark a straight starting line and check the first row carefully. A crooked first board can affect the entire ceiling.
- Fit the first board. Position the board with the appropriate edge toward the starting wall, leaving the expansion clearance recommended by the manufacturer. Secure it through the face or according to the product's fastening instructions.
- Connect and fasten each row. Fit the tongue of the next board into the groove of the previous one. Keep the joints snug without forcing the boards together. Fasten through the tongue where the profile and manufacturer allow, ensuring nails reach the joists. Clamps or a suitable lever can help close stubborn gaps, but avoid damaging the wood.
- Handle the final rows and trim. Measure carefully around lights, vents, and other ceiling fixtures. Electrical work should be handled safely, with power disconnected and a qualified electrician involved when needed. The final board may require trimming, while perimeter molding can cover the planned expansion gap and create a clean edge.
What Makes a DIY Installation Successful?
Ceiling work is physically demanding. Use stable platforms, get help with long boards, and never overreach from a ladder. Check each row for alignment and gaps before fastening it permanently. Allow for natural wood movement rather than trying to force every joint completely tight.
Cedar offers homeowners and builders an attractive, workable material that can make an ordinary room feel more finished. With accurate measurements, secure fastening, and careful attention to spacing, 1x6 tongue and groove boards can create a durable, inviting ceiling that showcases the character of natural wood.
For more information about Lumber Finger Lakes Ny and Wood For A Butcher Block Please visit: Empire Real Lumber.

 English
 Arabic
 French
 Spanish
 Portuguese
 Turkish
 Dutch
 Italiano
 Russian
 Romaian
 Portuguese (Brazil)
 Greek