

How to Choose the Best Embroidery Digitizing Designs for Your Logo
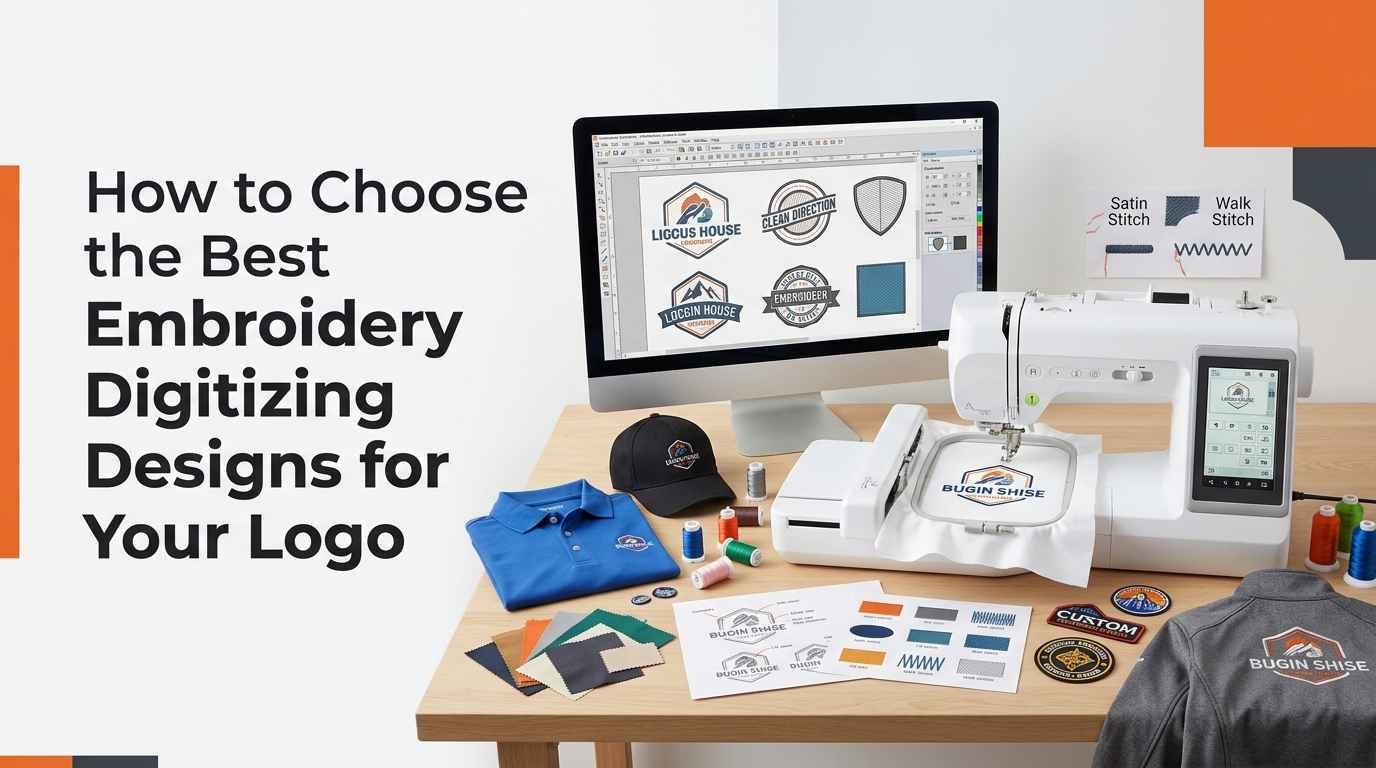
Choosing the best embroidery digitizing designs for your logo is an important step in producing clean, professional machine embroidery. A logo that looks sharp on a computer screen may not stitch well on fabric without proper preparation. Small lettering, narrow outlines, complex shapes, and unsuitable stitch settings can affect the final result.
Whether you are preparing a company logo for uniforms, caps, jackets, polo shirts, or custom patches, the right digitized design helps your embroidery machine reproduce the artwork more accurately. The goal is not simply to convert an image into a machine-readable file. It is to create a stitch plan that considers the design's size, fabric, thread, and intended placement.
This guide explains how to evaluate embroidery digitizing designs, what technical details matter, and how to prepare your logo for reliable stitching.
What Are Embroidery Digitizing Designs?
Embroidery digitizing designs are digital stitch instructions created from artwork so an embroidery machine can reproduce it using thread. A digitizer determines how different areas of the logo will be stitched, which stitch types to use, how stitches should be arranged, and what sequence the machine should follow.
A standard image file, such as JPG or PNG, contains visual information. An embroidery file contains machine instructions, including stitch locations, movements, and other information supported by the selected file format.
Common machine embroidery formats include DST, PES, JEF, and EXP. The appropriate format depends on your embroidery machine and software. Changing a file extension does not convert an image or embroidery file into a different format; the design must be exported correctly.
1. Start With Clear and Suitable Logo Artwork
The quality of your original artwork affects how accurately it can be digitized. Before choosing a digitizing design or service, review the logo you intend to embroider.
A high-resolution image or clean vector file can help the digitizer identify shapes, outlines, lettering, and color boundaries. However, a high-resolution image does not automatically produce a good stitch file. The artwork still needs to be interpreted for embroidery.
Check the following details before submitting your logo:
-
Make sure the text and symbols are easy to identify.
-
Remove unnecessary shadows, gradients, and tiny decorative elements where appropriate.
-
Confirm the correct brand colors and logo proportions.
-
Provide the intended embroidery dimensions and placement.
-
Supply a clean version of the logo whenever possible.
If your logo is available only as a small or blurry image, ask whether the artwork needs cleanup or redrawing before digitizing. Reconstructing unclear details may require additional work.
2. Choose the Correct Design Size
Logo size has a direct effect on stitch quality. A design that works well on the back of a jacket may not be suitable for a small cap front or the left chest of a polo shirt.
When a detailed logo is reduced, small letters can become difficult to read, narrow gaps may close, and thin outlines may disappear. Enlarging a design without adjusting its stitch settings can also cause problems, including excessive density or unnecessarily long stitches.
Before digitizing, decide where the logo will be embroidered and measure the available area. Consider the garment's seams, pockets, panels, and curved surfaces.
For example, a left-chest logo usually requires a simplified layout compared with a large jacket-back design. A cap logo may need special attention because the curved surface and stitching conditions differ from those of a flat garment.
The best approach is to digitize the artwork for its final size rather than resizing a finished file without reviewing the stitch structure.
3. Check the Quality of Small Text and Fine Details
Text is one of the most challenging elements in logo embroidery. Small letters, narrow spaces, thin strokes, and closely spaced words may not reproduce clearly when converted into stitches.
When evaluating embroidery digitizing designs, pay attention to letter height, spacing, stroke thickness, and the amount of detail in the logo. The suitable minimum lettering size depends on the font, fabric, thread, machine, and stitch method, so one measurement cannot guarantee readable results in every situation.
If the original logo contains very small text, consider whether the wording can be enlarged or simplified for embroidery. In some cases, preparing a separate embroidery version of the logo is more effective than trying to reproduce every detail from the original artwork.
A good digitizer understands which details can be stitched reliably and which may need adjustment. This helps preserve the logo's identity without creating unnecessary complexity.
4. Understand Stitch Types and Their Uses
Different parts of a logo require different stitch types. Choosing the right stitch structure helps create suitable coverage, texture, and definition.
Satin Stitches
Satin stitches are commonly used for lettering, narrow borders, and shapes that benefit from a smooth, raised appearance. They work well when the width of the shape suits the stitch structure.
Very wide satin areas may require a different approach, while extremely narrow areas can be difficult to reproduce consistently.
Fill Stitches
Fill stitches cover larger shapes and solid areas. They are frequently used for background sections, broad letters, and filled logo elements.
The stitch angle, density, and direction should be selected according to the shape and fabric. Poorly planned fill areas may cause stiffness, thread buildup, or fabric distortion.
Running Stitches
Running stitches are useful for fine lines, delicate outlines, and details that do not require heavy coverage. They can also help define certain design elements.
However, a single running stitch may be too thin for a prominent outline. The digitizer must select a suitable stitch method based on the design's purpose and intended size.
A well-prepared logo combines stitch types according to the artwork rather than applying the same structure to every part.
5. Evaluate Stitch Density and Underlay
Stitch density describes how closely stitches are placed within a design. Density that is too high can create a stiff result, increase thread buildup, and contribute to puckering or needle problems. Density that is too low may leave gaps or allow the fabric to show through where solid coverage is expected.
The correct density depends on the fabric, thread, stitch type, design size, and machine setup. It should not be selected using one fixed setting for every logo.
Underlay stitches are placed beneath visible stitches to support the embroidery. Depending on the design, underlay can help stabilize the fabric, support coverage, and improve the finished appearance.
When assessing a digitized logo, ask whether the density and underlay have been adjusted for the intended material. A file created for a stable woven fabric may require changes before it is used on a stretchy polo shirt or another challenging material.
6. Match the Digitizing Design to the Fabric
The same logo can behave differently on different fabrics. A design intended for a structured jacket may not perform equally well on lightweight performance clothing.
Before ordering a digitizing file, identify the material on which the logo will be stitched. Common examples include cotton polo shirts, polyester sportswear, fleece, denim, caps, and canvas bags.
Lightweight or stretchy fabrics often need careful stabilization and appropriate stitch settings to reduce distortion. Thick fabrics may require adjustments to accommodate their structure and the intended embroidery coverage.
The digitizer should consider the fabric's weight, stretch, texture, and stability when planning the design. The embroidery operator also needs to select suitable backing, hooping methods, needle, thread, and machine settings.
Digitizing is an important part of the process, but good results depend on the complete embroidery setup.
7. Consider Logo Placement and Stitch Direction
Logo placement affects how the design will look and how easily it can be embroidered. Common locations include the left chest, cap front, jacket back, sleeve, and custom patches.
Each location has different space and construction requirements. Caps have curved surfaces, while jacket backs may accommodate larger designs. Sleeves and small garment panels can limit the available stitching area.
Stitch direction also matters. The angle and sequence of stitches can influence how light reflects from the thread, how shapes appear, and how the design responds to fabric movement.
A digitizer should plan stitch direction according to the shape of each element and the overall design. Stitch sequencing can also reduce unnecessary jumps and trims, although the best sequence depends on the artwork and machine requirements.
Always communicate the final placement and dimensions before digitizing. This gives the digitizer the information needed to prepare a suitable file.
8. Review Color Separation and Thread Changes
A logo may contain several colors, but the embroidery file must organize those colors into a workable stitch sequence.
Review the number of thread colors required, the order of color changes, and whether small color sections are large enough to stitch clearly. Extremely small details in multiple colors may become difficult to reproduce at a reduced size.
Thread colors may not match screen colors exactly because thread materials, lighting, and fabric affect the perceived result. Use a reliable thread color chart when color accuracy is important, and test the design on the intended material if the project requires a close match.
A thoughtful color sequence can also reduce unnecessary thread changes. However, color order should not compromise the structure or appearance of the design.
9. Check File Compatibility Before Ordering
Before purchasing or requesting embroidery digitizing designs, confirm that the output format is compatible with your machine or embroidery software.
DST is widely used in commercial embroidery, while formats such as PES and JEF are associated with particular machine ecosystems. Compatibility can vary by model and software version, so verify the requirements in your machine's documentation.
Ask the digitizing provider which formats are available and whether the order includes additional formats if needed. Also confirm the required design dimensions and whether the file is intended for a particular placement.
A machine-readable file is not necessarily a well-digitized file. Compatibility is only one part of quality; the stitch plan must also suit the artwork, size, and fabric.
10. Request a Sew-Out Test When Possible
A preview image can help you assess the layout, but it cannot fully demonstrate how a logo will perform on fabric. A sew-out test provides a more practical way to evaluate the finished embroidery.
If the design is intended for bulk production, expensive garments, or a new type of fabric, test stitching can help identify issues before the full order begins.
During the test, review:
-
Letter readability and shape accuracy.
-
Coverage, outlines, and small details.
-
Puckering, fabric distortion, and excessive stiffness.
-
Thread breaks, unnecessary trims, and stitch buildup.
-
Overall appearance at the actual production size.
If problems occur, determine whether they are related to the digitized file, the fabric, stabilization, hooping, thread, needle, or machine settings. Adjusting the correct part of the process is more effective than changing the design blindly.
For repeat production, keep the approved file and document the successful machine settings and materials.
11. How to Choose a Reliable Embroidery Digitizing Provider
If you do not have in-house digitizing experience, a professional provider can help prepare your artwork for machine embroidery. However, choosing a provider based only on price or turnaround time may not give you the best outcome.
Review the provider's experience with designs similar to yours. A company that frequently works with caps, patches, small lettering, or large jacket-back logos may better understand the specific requirements of your project.
Before placing an order, consider these questions:
-
Does the provider understand the intended fabric, placement, and final dimensions?
-
Can they explain how small text or complicated details may need adjustment?
-
Which machine file formats do they supply?
-
Is a revision available if the design needs correction?
-
Can they provide guidance if the file does not stitch as expected?
-
Are turnaround time, pricing, and delivery terms clearly explained?
Look for a provider that communicates realistic expectations rather than promising perfect results from every image. The original artwork, design complexity, fabric, and production conditions all influence the final embroidery.
Common Mistakes to Avoid When Choosing Embroidery Digitizing Designs
One frequent mistake is selecting a file because its preview looks attractive without considering the actual embroidery size. A detailed preview can hide problems that become visible after stitching.
Another mistake is using the same digitized file for every garment. A logo may require separate versions for caps, chest embroidery, and large jacket backs because each placement has different size and construction requirements.
Ignoring fabric type can also create avoidable problems. Stretchy material, textured fleece, and structured caps may need different digitizing and production considerations.
Finally, do not assume that converting an image automatically produces a machine-ready design. Automatic conversion may not account for stitch direction, underlay, density, pull compensation, or proper sequencing. Complex or brand-critical logos often benefit from manual review and refinement.
Conclusion
Choosing the best embroidery digitizing designs for your logo requires more than selecting a file format or converting an image. You need to consider artwork clarity, final size, lettering, stitch types, density, underlay, fabric, placement, and machine compatibility. These factors work together to determine how accurately the logo will reproduce in thread.
Before approving a design, communicate the intended garment, dimensions, and machine requirements. Review the stitch file carefully and request a sew-out test when possible, especially for bulk orders or detailed logos. These steps can help reduce production issues and improve consistency.
For businesses that need professional help preparing logos for machine embroidery, ZDigitizing.net can be considered when comparing digitizing providers. Choose a service that understands your project requirements and provides a file prepared for the intended embroidery application.
Frequently Asked Questions
Q1: What are the best embroidery digitizing designs for logos?
The best designs are prepared for the logo's actual size, fabric, placement, and embroidery machine. They use suitable stitch types, density, underlay, and sequencing to reproduce the artwork clearly.
Q2: Can any logo be converted into an embroidery design?
Most logos can be adapted for embroidery, but some require simplification or redrawing. Tiny text, gradients, shadows, and extremely fine details may not reproduce accurately with thread.
Q3: Which file format is best for machine embroidery?
There is no single format that is best for every machine. DST, PES, JEF, and EXP are common options, but you should select the format supported by your specific machine or software.
Q4: Why does my embroidered logo look different from the original image?
Thread, fabric, stitch direction, design size, and machine settings can affect the finished result. The original artwork may also contain details that are difficult to reproduce at the chosen embroidery size.
Q5: How can I improve the quality of a digitized logo?
Start with clear artwork, choose suitable dimensions, use appropriate stitch types and density, and match the design to the fabric. Test stitching and make adjustments when necessary.
Q6: Do I need a separate digitized file for caps and shirts?
In many cases, separate versions are recommended because caps and shirts have different surfaces, construction, and available space. A design optimized for one placement may need adjustments for another.
Q7: Is automatic logo conversion enough for professional embroidery?
Automatic conversion may work for simple artwork, but it can miss important stitch-planning decisions. Detailed logos often require manual adjustments and testing to achieve reliable results.

 English
 Arabic
 French
 Portuguese
 Deutsch
 Turkish
 Dutch
Dutch
 Italiano
 Russian
 Romaian
 Portuguese (Brazil)
 Greek
Greek