

How to Use 1x6 Tongue and Groove Boards for Wall Paneling
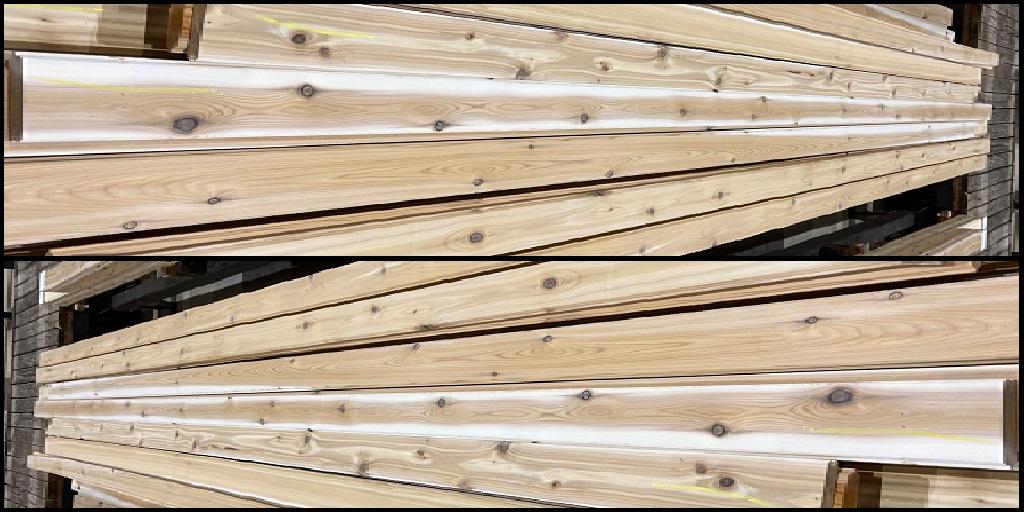
A plain wall can feel flat, and 1x6 tongue and groove boards are an easy way to fix that. Maybe it’s an entryway that never quite worked, a utility room that’s turned into a dumping ground, or a living room that needs some warmth. Each board’s edges lock into the next, so you end up with one smooth, continuous surface and the classic wood-paneled look, minus the fuss.
What Can You Build With 1x6 Tongue and Groove Boards?
Wall paneling is the obvious choice, but these boards go further. They work on interior ceilings, accent sections, porch details, and even some siding jobs, as long as the product suits the conditions. Incense cedar adds its own character: warm tones, natural color shifts, and no two walls looking quite alike.
The #2 Standard Grade can include knots and other natural marks. You can lean into them for a relaxed, rustic feel instead of trying to hide every flaw. Want something cleaner? A good primer and paint will even out the surface, and the board profiles will still show through.
Plan Before You Start
First, measure the wall’s width and decide how high the paneling should go. Full-height boards make a room feel snug and enclosed. Half-wall paneling adds interest without crowding a small space. In an entryway, you might stop at waist or chest height and cap it with a slim shelf or dado rail.
Think about how the space actually gets used, too. Hallways and utility areas take a beating from bags, shoes, and coats, so a washable paint is worth the extra cost. Hooks can go above the paneling, and a shelf gives small everyday items a home. If the hooks, handles, and other hardware share a finish, the whole thing looks planned rather than pieced together.
Choose and Prepare Your Materials
Work out how many boards you need and add extra for cuts and mistakes. Lengths of 8, 10, 12, 14, and 16 feet may be available, so matching lengths to your wall can cut down on waste and joins.
Before you install anything, check every board. Look for damaged tongues or grooves, and sight along each length for warping. If the boards don’t fit together cleanly, the finished wall won’t look straight.
If you’re painting, prime before installation. It’s much easier that way. Use a small brush to get into the edges and grooves, then add your paint, letting each coat dry as the manufacturer directs.
Install the Panels
Mark your panel height and use a laser or spirit level to set a straight guide. Cut boards to size, leaving room for sockets and door trim. Switch off the relevant circuit first, and bring in a qualified electrician if any electrical fittings need moving or changing.
Depending on your wall and the product instructions, you can use panel adhesive, nails, or both. Fit each board carefully and check alignment as you go. Finish exposed edges with trim, fill small gaps with decorator’s caulk or filler where appropriate, then sand and touch up once everything’s secure.
Plan well, install carefully, and 1x6 tongue and groove boards from a trusted supplier can turn an ordinary wall into something useful and inviting. Keep the wood natural for a warm, relaxed look, or paint it to match your room.
For more information about Wood For A Butcher Block and Cedar Boards Please visit: Empire Real Lumber.

 English
 Arabic
 French
 Spanish
 Portuguese
 Deutsch
 Dutch
 Italiano
 Russian
 Romaian
 Portuguese (Brazil)
 Greek